WiFi - 设置 UDP 伺服器进行通讯
材料准备
AmebaD [AMB21 / AMB22 / AMB23 / BW16] x 1
范例说明
这个范例里,我们使用Ameba连上WiFi,作为UDP服务器端,当UDP 客户端发送讯息给Ameba之后,回应“acknowledged” 给客户端。
Open the WiFi Web Server example.
“File” → “Examples” → “WiFi”
→ “WiFiUdpSendReceiveString”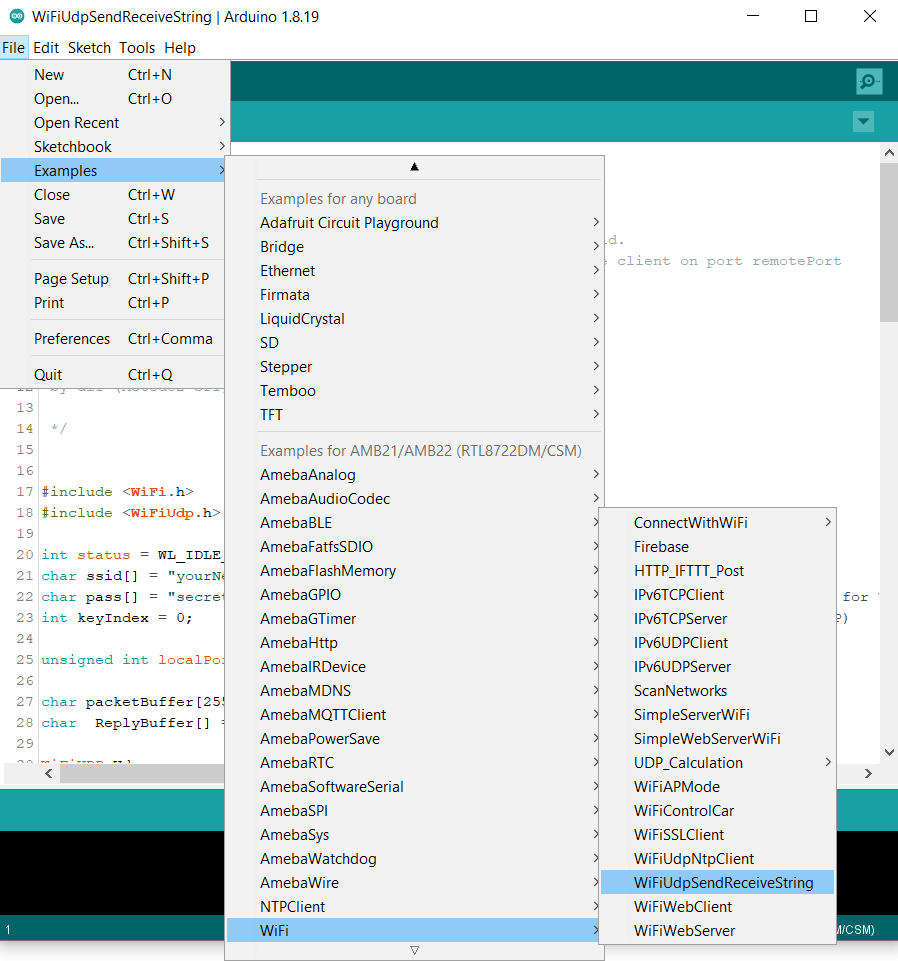
将WiFi连线至AP的相关讯息进行修改,包括 ssid, pass, keyIndex

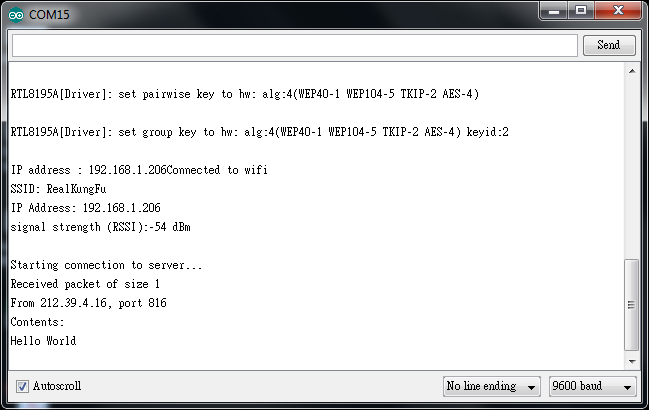
上传程式码之后,按下Ameba的Reset按钮, WiFi连线成功后,会开启UDP服务器,服务器端的IP为Ameba的IP,端口为2390启动服务之后,会印出讯息“Starting connection to server”,并等待UDP客户端连线进来。
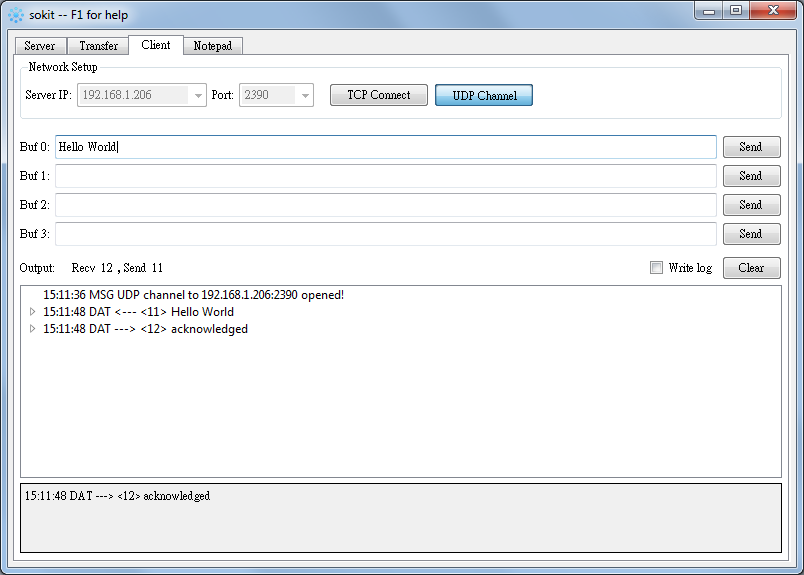
另外在电脑的socket工具上(本示例中使用的工具为“sokit”)通过获取的IP地址以及范例中设定的端口号“2390”来进行连线。
选取Client模式,填写Server IP和PORT信息,点击“UDP Connect”.
连接成功后, 传送字串过去,这个例子里,在Buf 0填入“Hello World”, 并且按下Send此时会看到Ameba UDP服务器端回应“acknowledged”,并且Ameba的Serial Monitor会看到Contents: “Hello World”,这个例子就成功了。
程式码说明
Ameba使用相容于Arduino Wifi Shield的WiFiUdp class,所以范例程式也与Arduino相容。
首先呼叫 begin() 在Ameba开启UDP端口
使用parsePacket() 等待客户端传送资料进来
如果有资料进来, 使用remoteIP() 与remotePort() 取得客户端的IP 与Port
并且呼叫 read() 将资料收进来
回传资料时, 使用beginPacket(), write(), end()传送资料,需要三个为一组来使用