HTTP - 将 IFTTT 用于 Web 服务
IFTTT 介绍
IFTTT (If This Then That) 为一个云端平台提供免费网路服务来创建applets或是简单的条件陈述来指定网路服务触发条件使其他像是Gmail, Facebook, Telegram, Instagram, Pinterest 等网路服务进行特定的反应动作。
材料准备
AmebaD [AMB21 / AMB22 / AMB23 / BW16] x 1
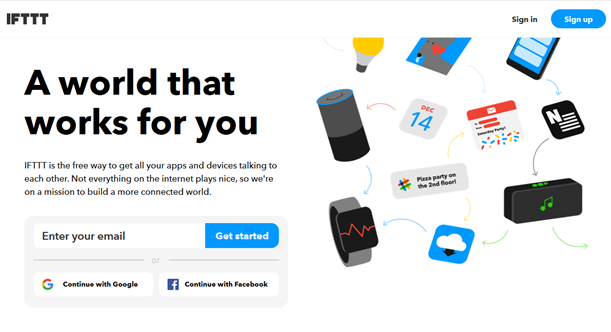
帐户来存取 IFTTT 服务* https://ifttt.com/
备注
登入后有多个云端服务整合在 IFTTT 平台
范例说明
生成 IFTTT Applet
接下来示范如何透过 IFTTT Applet 来寄信至特定的收件者
这个范例中,利用 ameba HTTP POST 功能来发布一个简单的webhook服务,IFTTT 收到后触发另一个网路服务(发送信件)
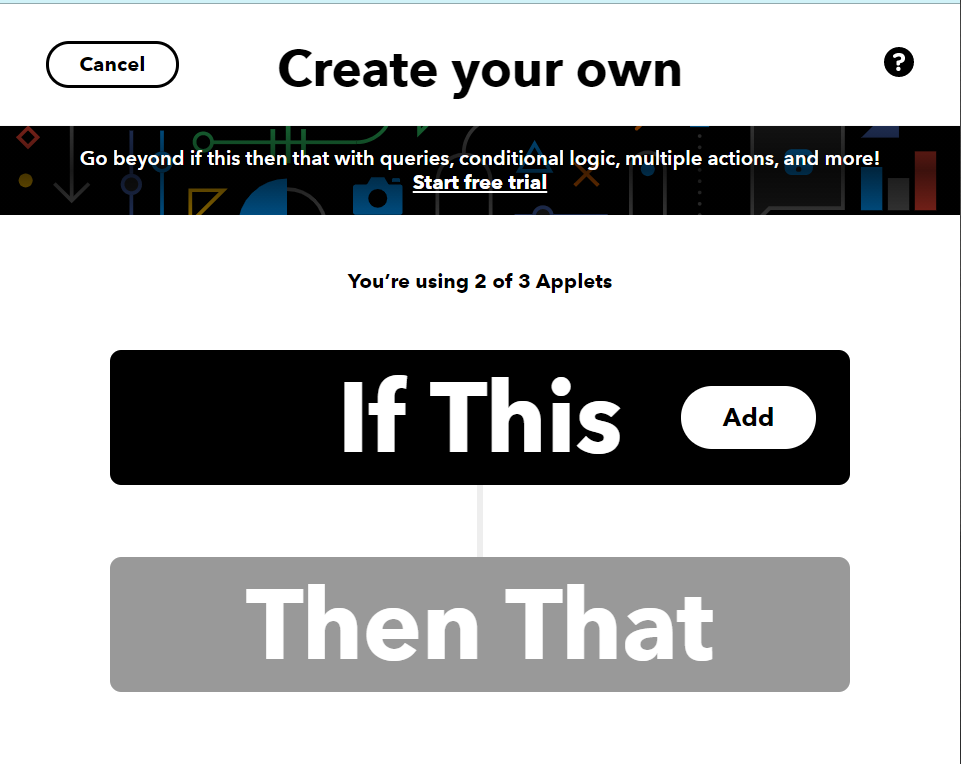
登录 https://ifttt.com/后,点选 Create

点选 “Add” 来新增触发服务
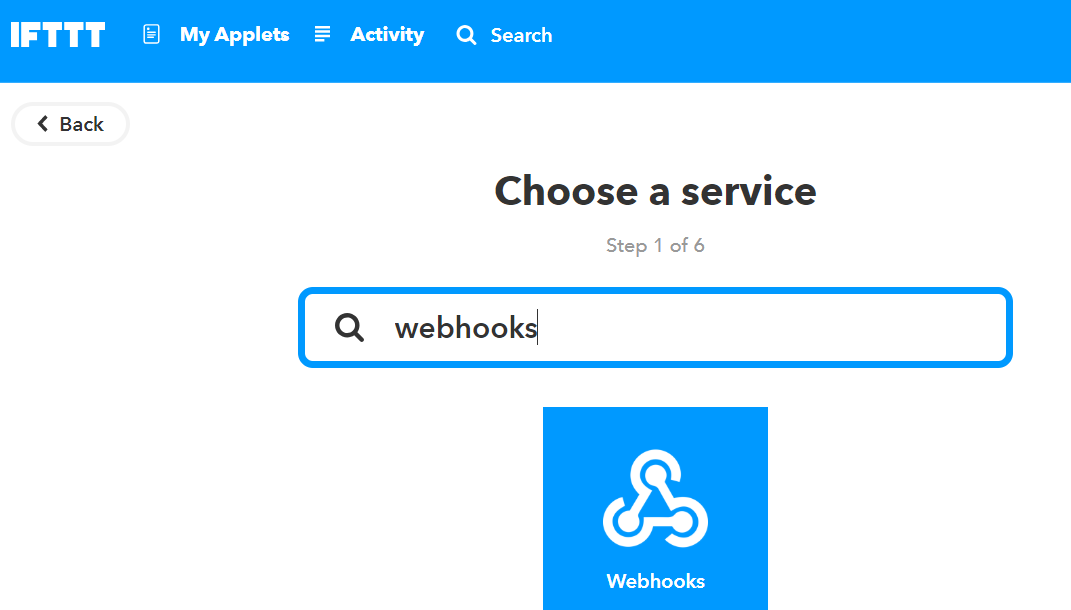
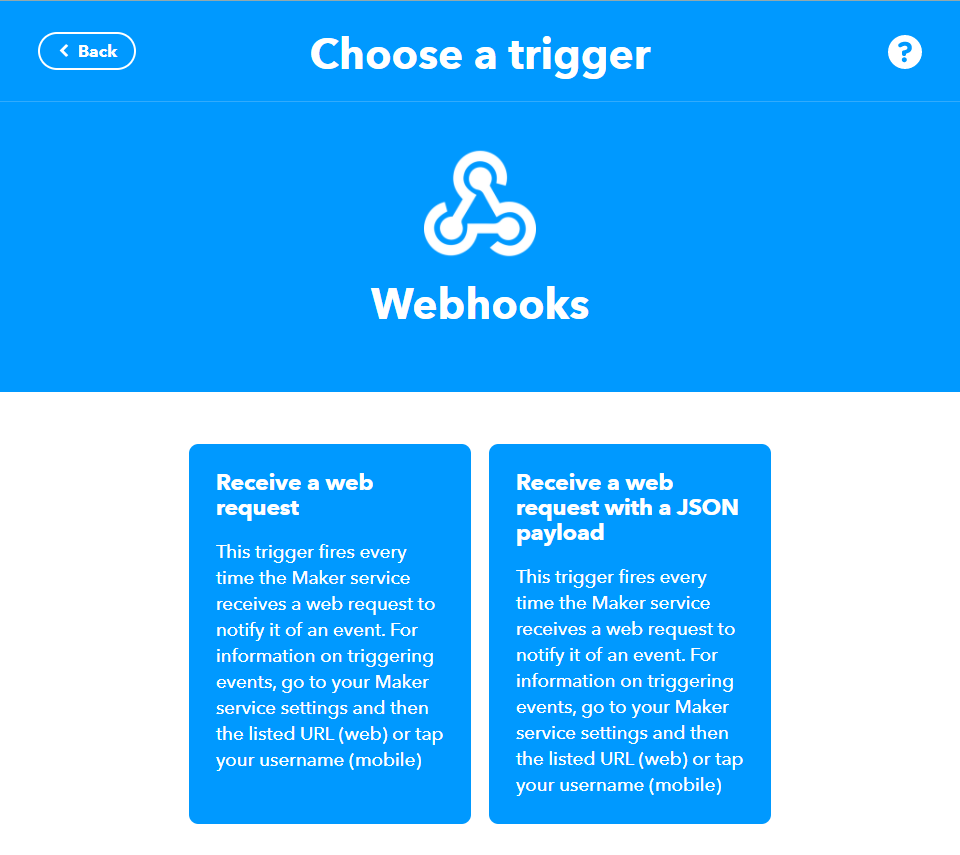
选择 Webhooks 服务,如下所示。或者,通过在搜索栏中键入内容来搜索服务。
接着会出现可用的触发服务,选择 Receive a Web request
需要填入 event name 来成功辨别触发服务 范例中使用 “test_event” 来当作事件名称。
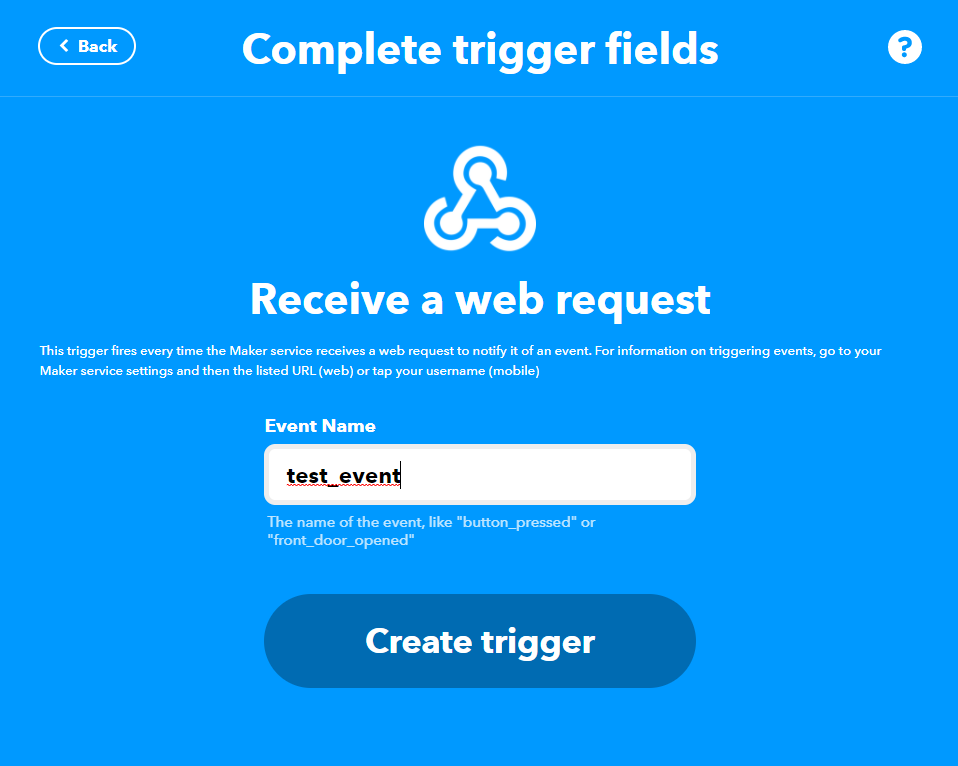
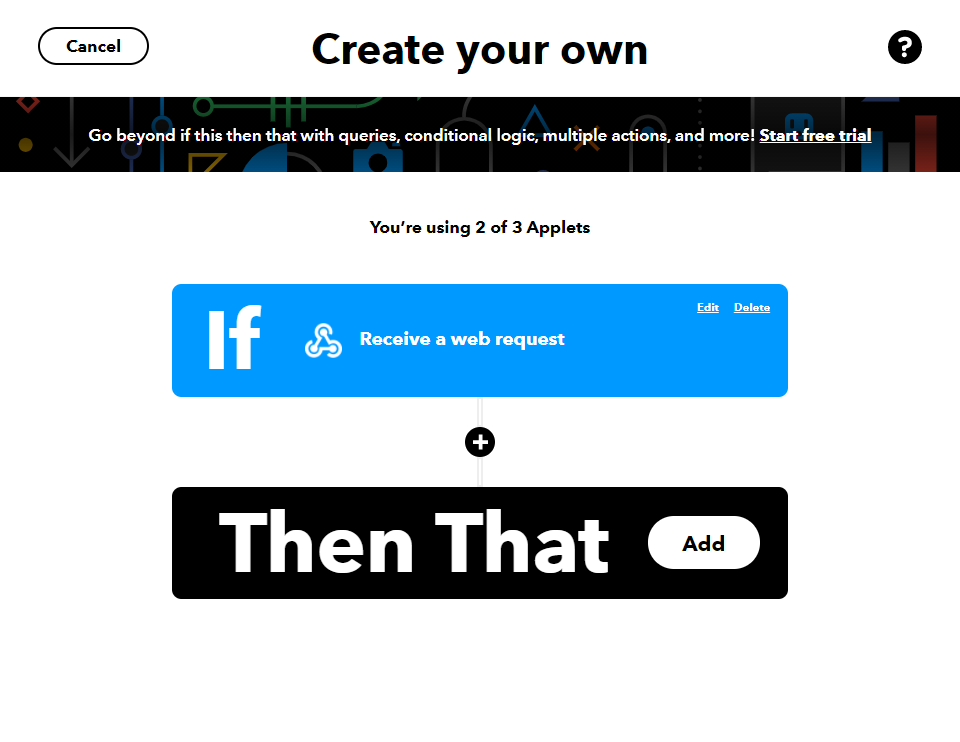
接着选择 Then That 栏位中的 Add 来创建 action service 对应的服务
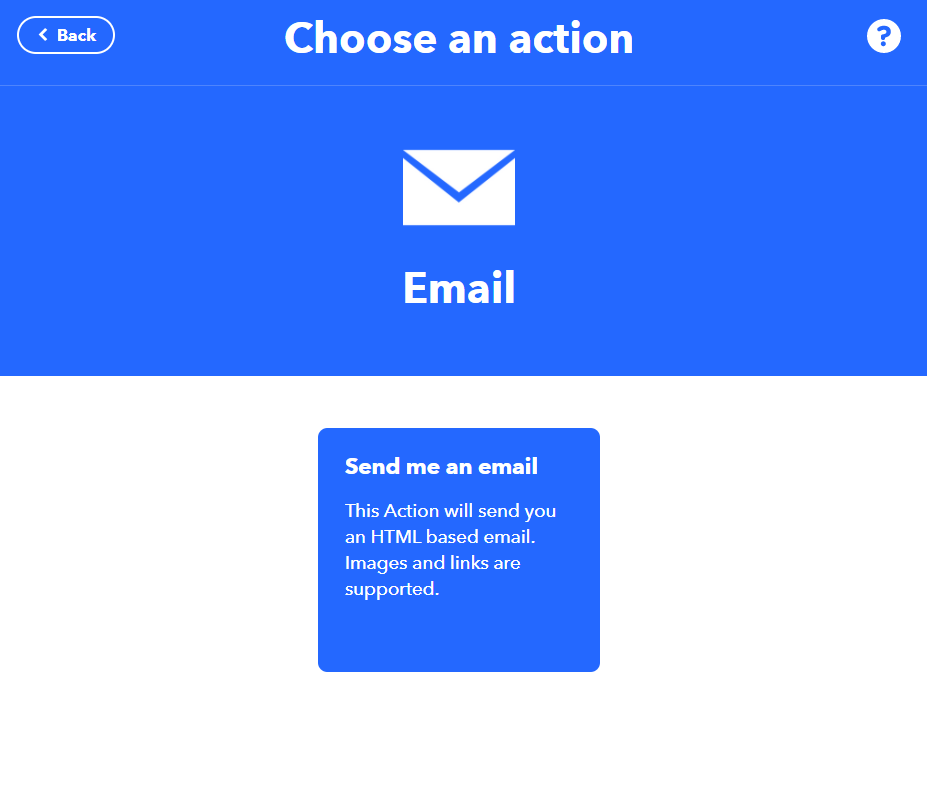
范例中选择 Email 来当作触发后的执行动作

点选 Send me an email
在 Send me an Email 模板下, email 主旨与内文的内容是可编辑的。点选 Create Action 来完成执行的动作。注意 Email服务是基于IFTTT帐号下注册的 email ID。

透过 Ameba 发布触发事件
“File” → “Examples” → “WiFi” → “HTTP_IFTTT_Post”
The WiFi credentials to connect to the Wi-Fi hotspot or access point of desirable choice.
Under the Host name field, enter the host name of the IFTTT service “maker.ifttt.com”.
在 Path 栏位中输入 EventName 并在 Key 栏位中输入 “trigger//with/key/”
Event name: The event name should be the same as the one specified in the IFTTT applet. In this example, the event name is “test_event”.
在 IFTTT 帐户中的 Webhook 服务下可以找到

要从 Webhooks 的documentation选项中获取key,请在Explore选项中找到 Webhook 服务。
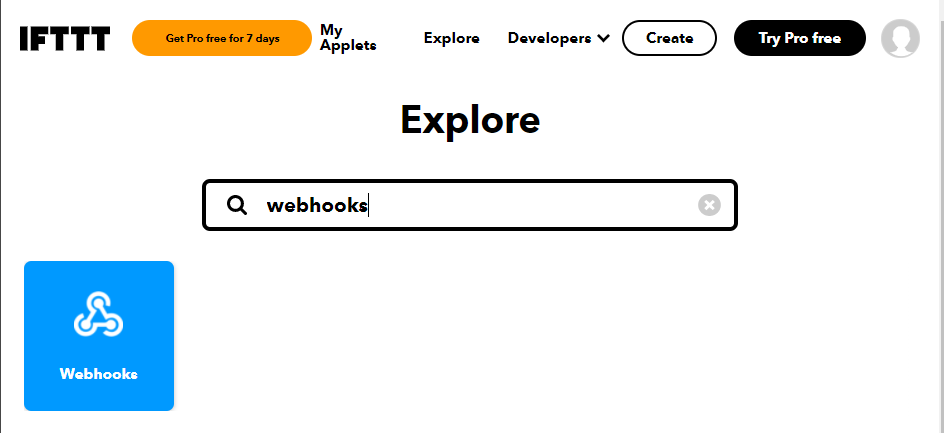
在 Webhooks 服务页面中点选 Documentation 页面

可以在 documentation 页面中找到所需的key。另外, 如何使用HTTP请求如下图所示

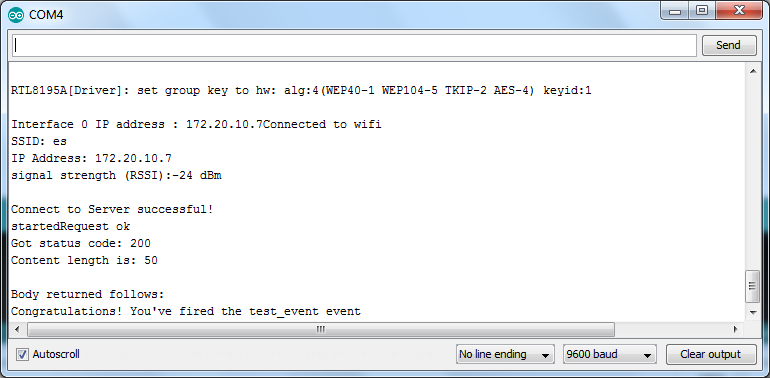
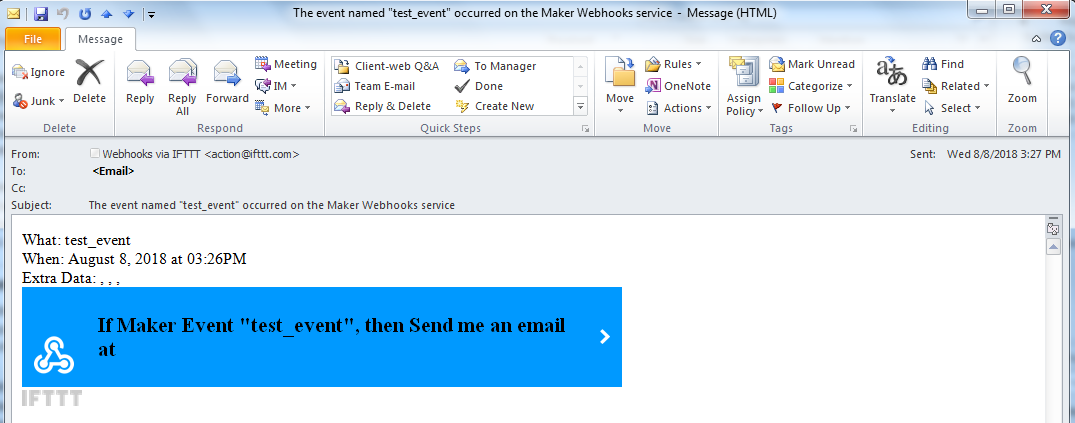
在 IFTTT Applet 所注册的接收者将会收到 email 通知